How to Perfect Cuban Ham Croquettes at Home
Looking for a new finger food that your kids will love? Want to bring something unique and delicious to your next football party? Then look no further than your next ham. I’m talking about ham croquettes. In Spanish they are called croquetas de jamon. Cuban ham croquettes have a delectably crispy exterior and a creamy, savory filling, these little bites of heaven are a true delicacy. They can be made two ways, either with ham or with ham and cheese!
I will guide you through the process of perfecting Cuban ham croquettes in the comfort of your own home. From selecting the finest ingredients to mastering the art of shaping and frying, you’ll discover all the tips and tricks needed to create croquettes that rival those found in the best Cuban restaurants.
These appetizers are perfect for any occasion. What makes these croquettes different (and better in my opinion) is the addition of onion, garlic and green bell pepper. They are ground in with the the ham so the kids will never know they are there. Then breaded in breadcrumbs and fried until golden brown. What’s not to love? So let’s get started!
Ingredients Needed for Perfect Cuban Croquetas de Jamon
- Ham
2. Onion
3. Bell Pepper
4. Garlic Cloves
5. Flour
6. Milk
7. Bread Crumbs
8. Eggs
9. Oaxaca Cheese (optional)
10. Oil for frying
Step-by-Step Instructions for Making Cuban Croquetas de Jamon
To create authentic and delicious Cuban ham croquettes, it’s important to start with the right ingredients. Here are the key components that will elevate your croquettes to the next level:
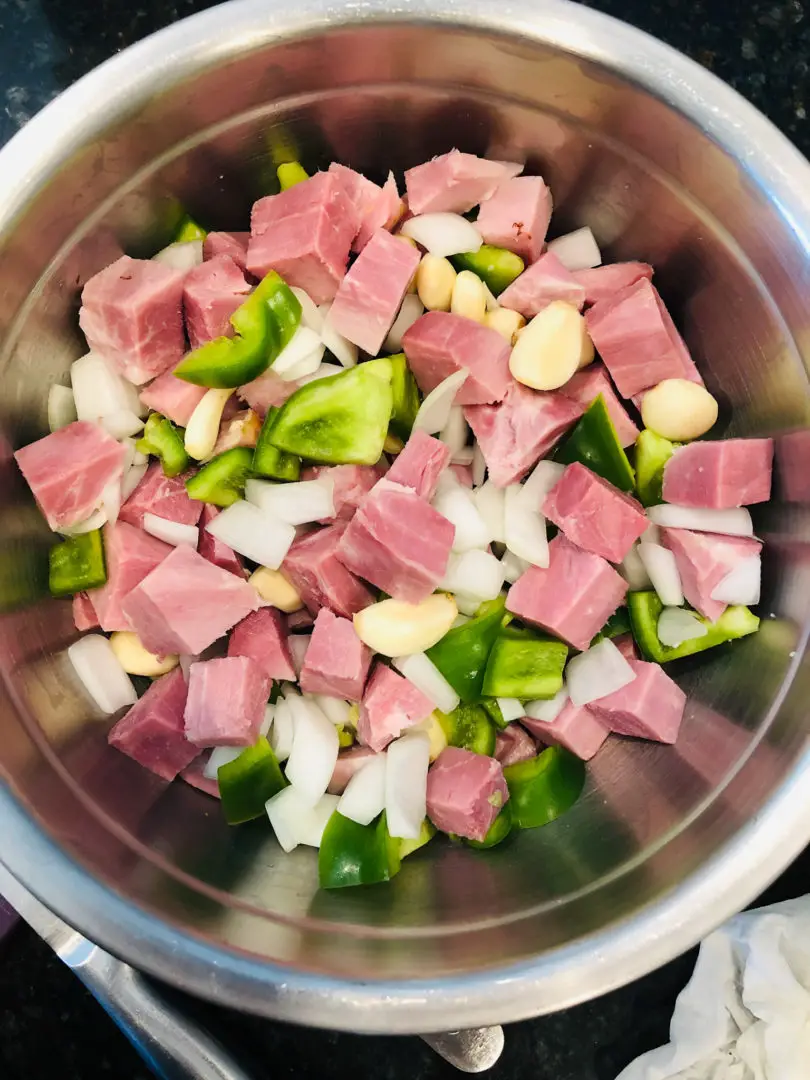
1. Ham: The star of the show, ham adds a savory and smoky flavor to the croquettes. Look for a high-quality cured ham. Cut the ham into cubes.
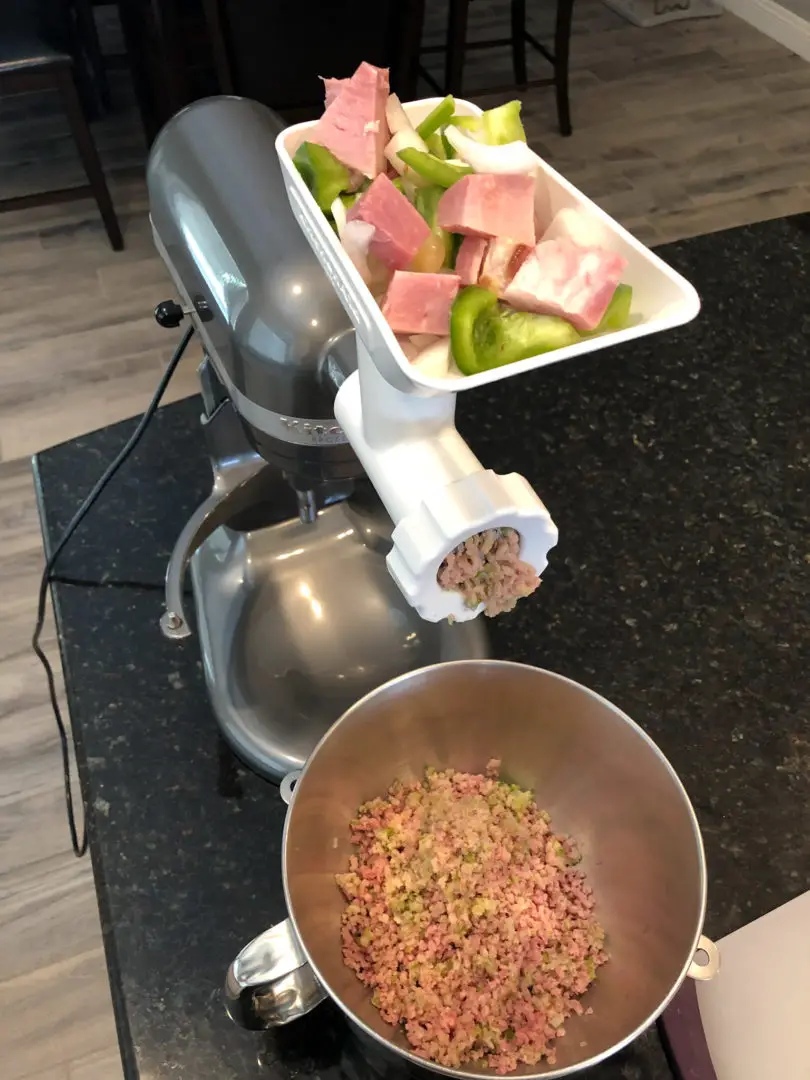
2. Onion, Garlic and Bell Pepper: These aromatic ingredients provide a subtle yet essential flavor base for the croquettes. Use a meat grinder or a food processor to incorporate the ham with the onion, garlic and bell pepper.
3. Breadcrumbs: Breadcrumbs are used to coat the croquettes before frying, giving them their irresistible crispy exterior. Opt for fresh breadcrumbs for the best results, or make your own by blitzing stale bread in a food processor. I save every loaf of Cuban bread or french bread for homemade breadcrumbs.
4. Eggs: Eggs act as the binding agent, helping to hold the breadcrumbs to the croquetas. Be sure to whisk them well.
5. Oil: Use fresh clean vegetable or canola oil for a crispy outside.
Tips for Achieving Perfect Crispy Cuban Ham Croquettes
To ensure your Cuban ham croquettes turn out perfectly crispy on the outside and creamy on the inside, keep these tips in mind:
1. Chill the ham mixture before shaping the croquettes. This will make it easier to handle and shape.
2. Use a deep pan or skillet for frying to ensure even cooking and crispy results.
3. Maintain a consistent oil temperature while frying. Too low, and the croquettes will absorb excess oil; too high, and they may burn.
4. Allow the croquettes to rest on a paper towel-lined plate after frying to remove any excess oil.
5. Experiment with different fillings and flavors. While traditional Cuban ham croquettes are loved by many, feel free to explore unique combinations such as cheese or instead of ham use chicken.
Frequently Asked Questions about making Cuban Ham Croquettes
1. Can I make the croquettes ahead of time?
Yes, you can prepare the croquettes ahead of time and refrigerate them until you are ready to fry them. This is especially convenient when hosting a dinner party or gathering.
2. Can I freeze the croquettes?
Absolutely! Cuban ham croquettes freeze well. After shaping and coating the croquettes, arrange them on a baking sheet and place in the freezer until fully frozen. Transfer the frozen croquettes to a freezer-safe bag or container for long-term storage. When ready to enjoy, fry the frozen croquettes directly from the freezer, adding a few extra minutes to the frying time.
3. Can I use a different type of meat instead of ham?
Certainly! While ham is the traditional choice for Cuban croquettes, you can experiment with other meats such as chicken or cod. Just make sure to adjust cooking times and flavors accordingly.
4. Can I bake the croquettes instead of frying them?
While frying is the traditional method for achieving the desired crispy texture, you can bake the croquettes in the oven if you prefer a lighter option. Preheat the oven to 375°F (190°C) and place the coated croquettes on a greased baking sheet. Bake for about 20-25 minutes, or until golden brown and heated through. The air fryer is another healthy alternative to frying.
Croqueta de Jamon Prep Hack
Check out this croqueta hack I found on YouTube. Before I found this hack it would take at least 30-45 minutes to just roll out each individual croqueta. Now, by using this technique the time has been cut down to no more than 15 minutes to prepare a whole batch of croquetas.
Additional Cuban Appetizers
Stuffed Plantain Cups (Tostones Rellenos)
Pastelitos de Carne (Picadillo Puff Pastry)
Sharing is fun……Below is a Pinterest friendly photo!

Ham Croquettes (Croquetas de Jamon)
Description
Cuban ham croquettes have a delectably crispy exterior and a creamy, savory filling, these little bites of heaven are a true delicacy. They can be made two ways, either with ham or with ham and cheese!
Ingredients
Instructions
-
First I cube the ham, onions and bell peppers into one inch pieces. Then I add the garlic cloves to the ham and vegetables.
-
I like to use my meat grinder attachment for my Kitchen Aid mixer. If you don’t have one pulsing it in a food processor works great too. Just be careful not to over do it, you want to have a little texture and not a mushy paste. As the mixture is going through the grinder I can smell the ingredients mixing with each other and soon my mouth is watering knowing what is about to be made.
-
After everything is ground up together I heat a tablespoon of olive oil on medium heat in a large stock pot. When the oil is hot but not smoking add the ham mixture and start stirring. Let it cook about five to ten minutes until it’s heated through while still stirring, then gradually add 1/2 cup of flour. Don’t add it all at once, just sprinkle some in and stir.
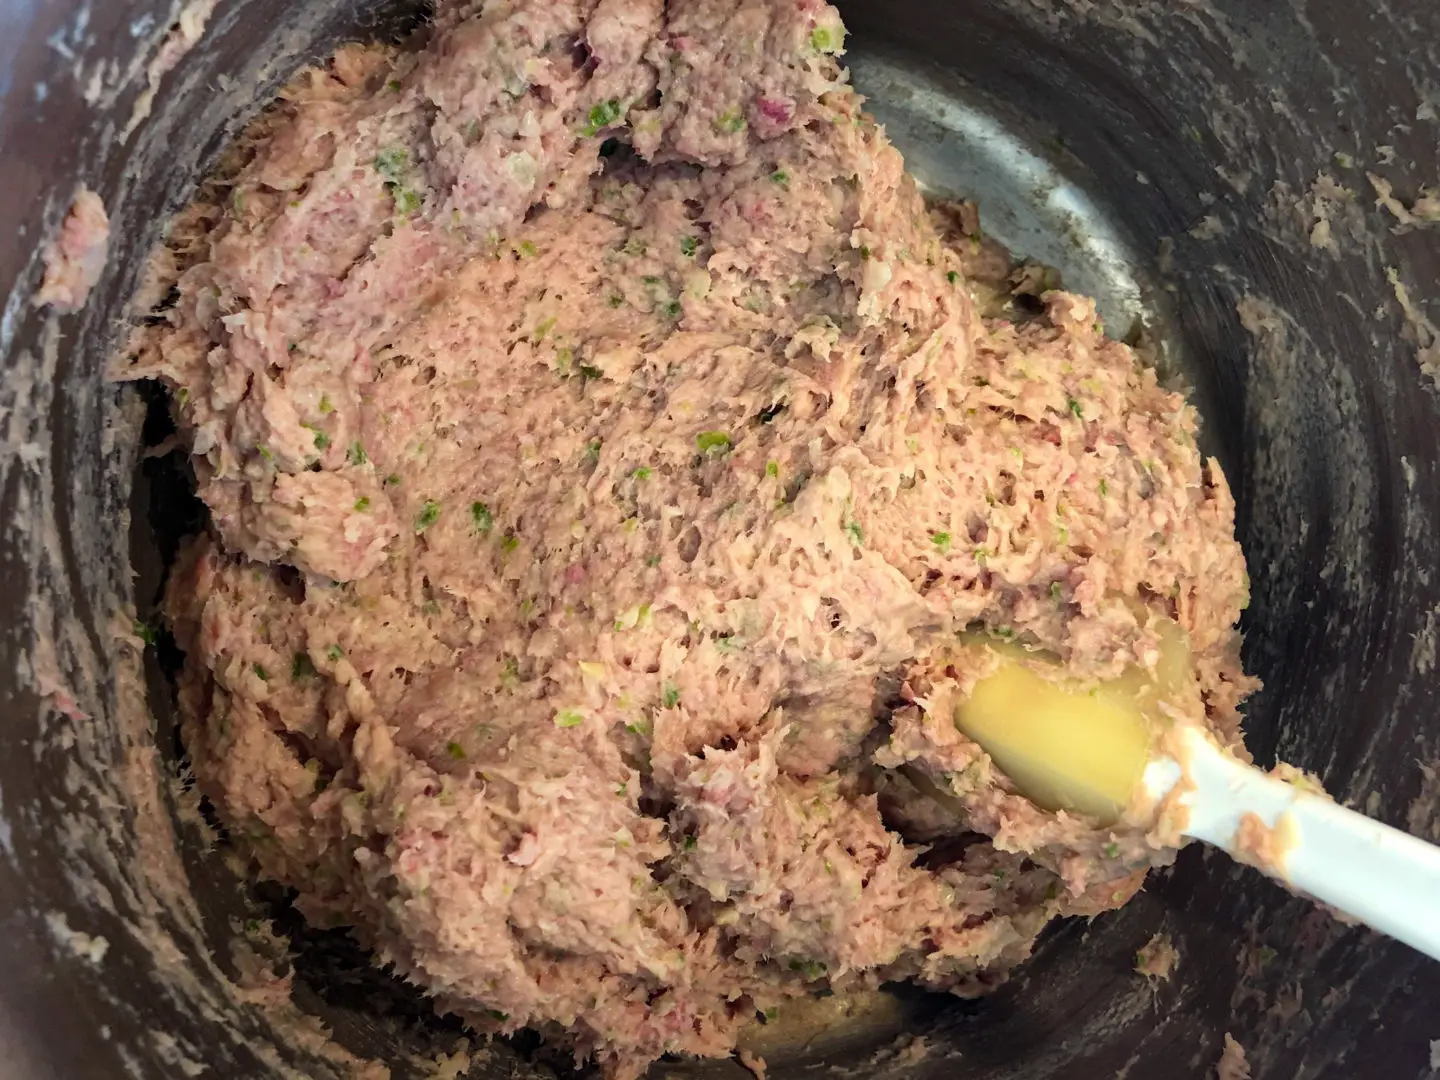
-
Then I add in the milk the same way, a little at a time and stir. This is the part where we get a small workout. Keep stirring so as not to burn the ham mixture. Eventually it will cook and combine and it will start to look like dough. Delicious ham dough! Next lay out a large piece of parchment paper and transfer the ham to the paper and let it cool completely.
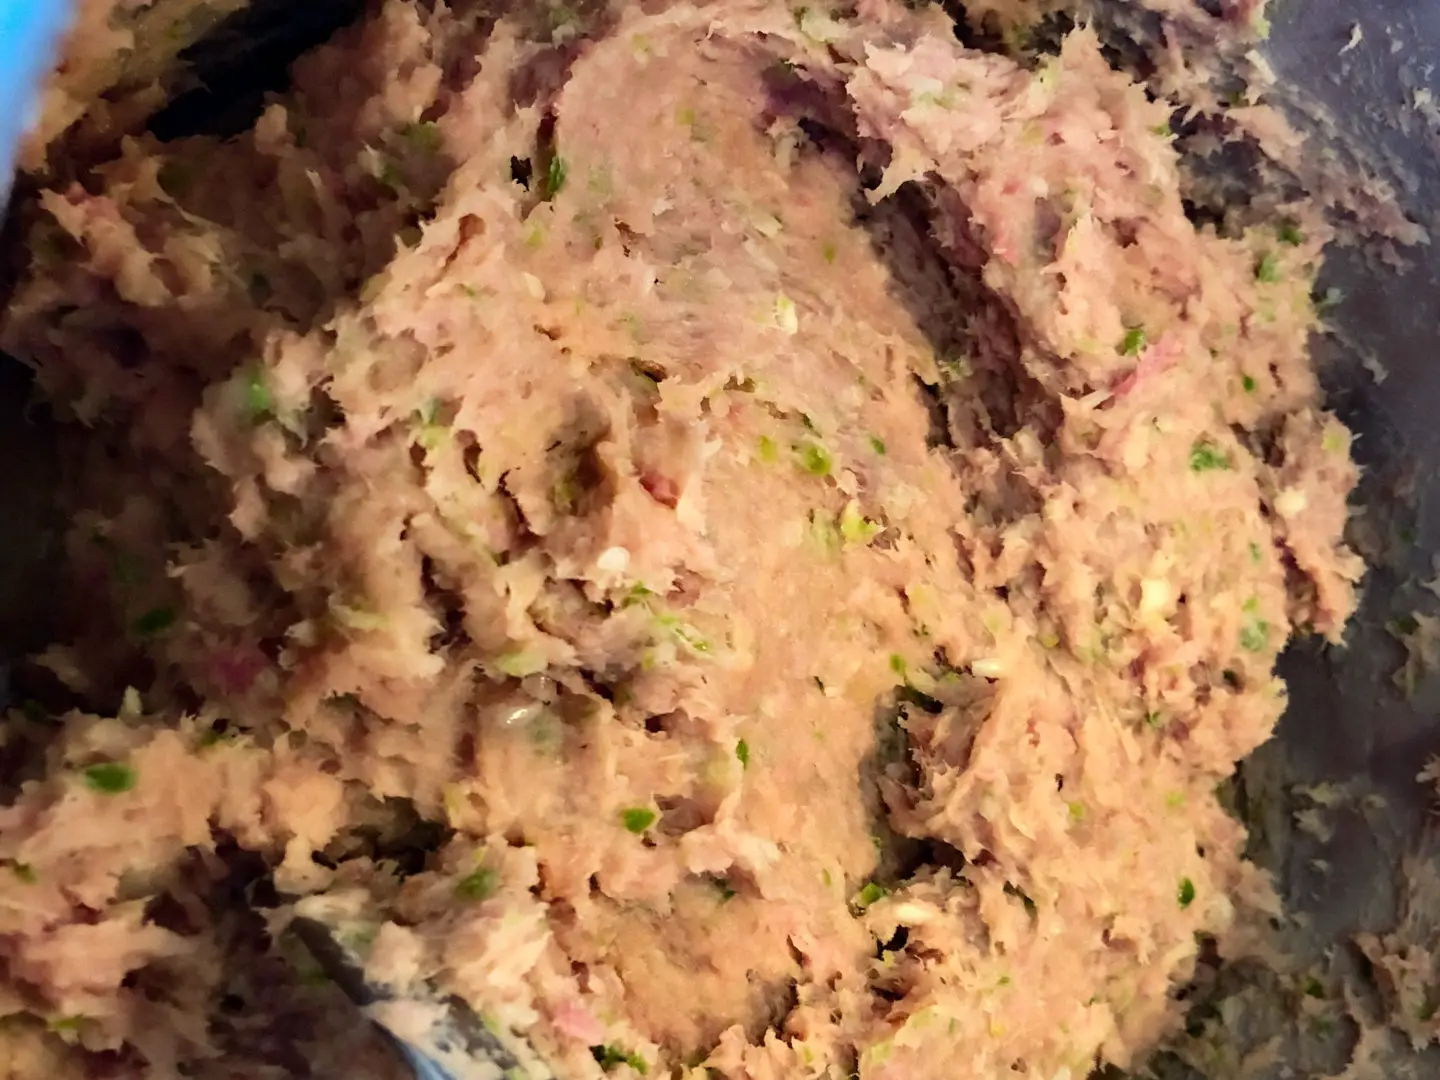
-
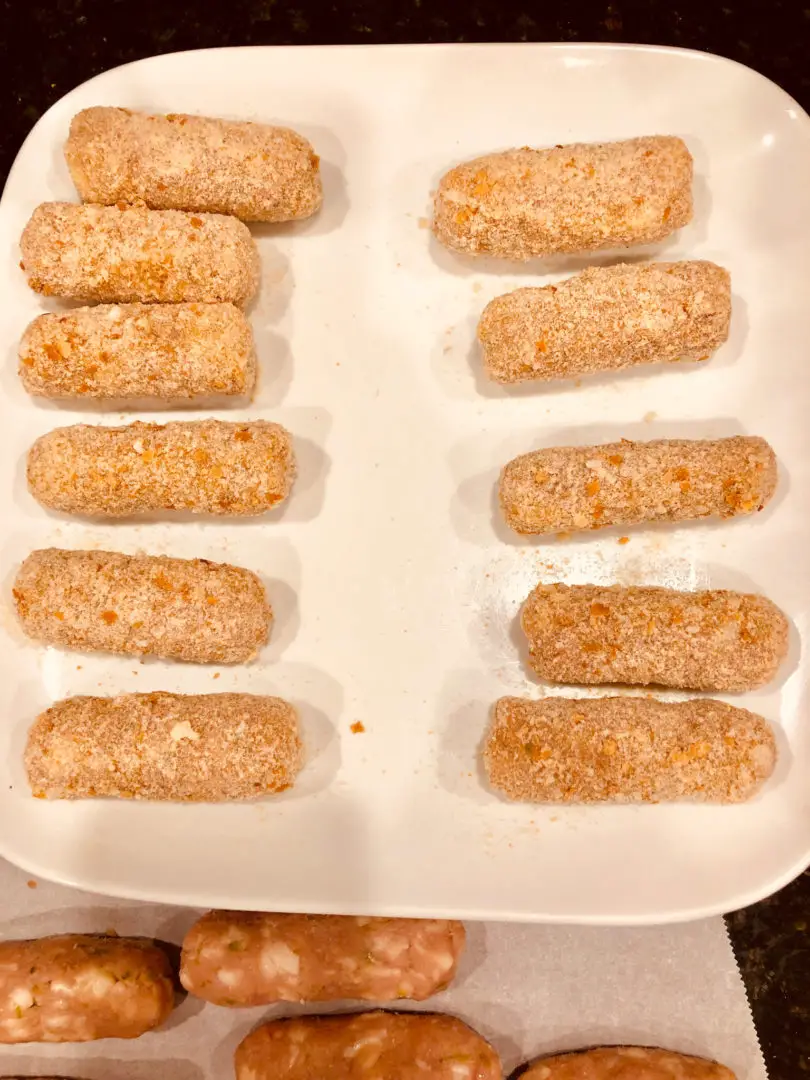
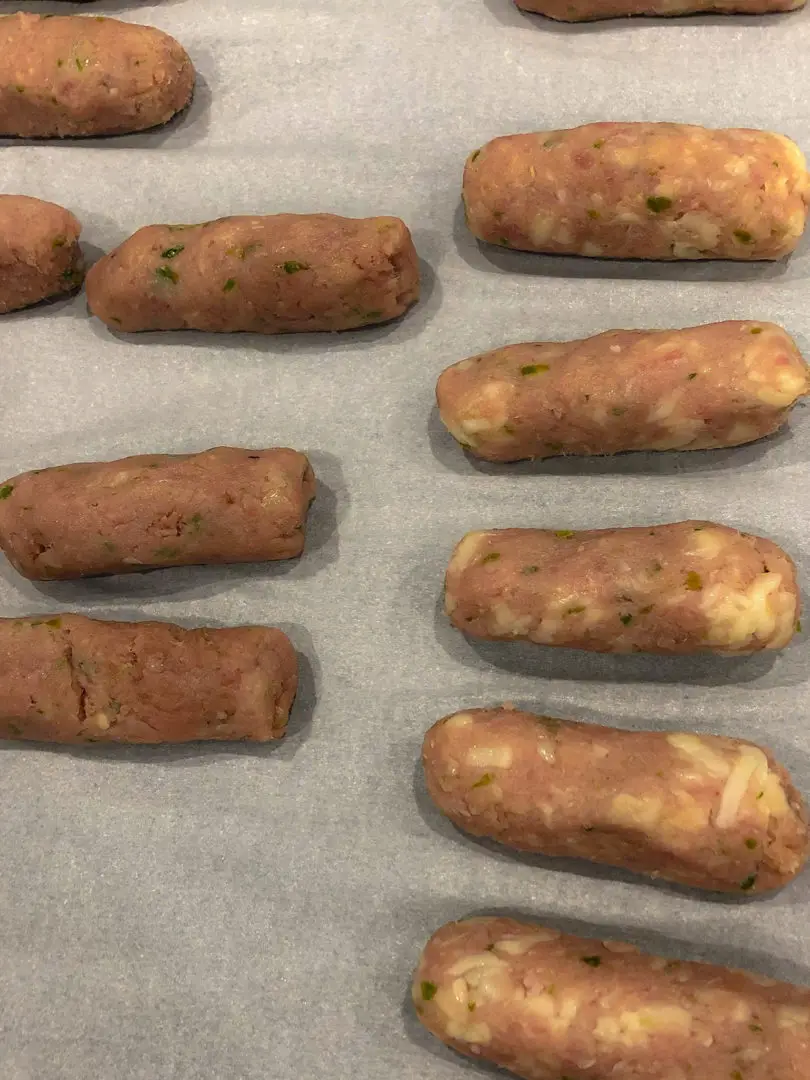
After it has cooled down take half of the mixture and add the shredded oaxaca cheese and mix it in so it’s mixed evenly. If you don’t have oaxaca cheese you can substitute with Monterey Jack cheese. Now it’s time for the fun part, we get to get our hands dirty! I keep my hands greased with a little oil while I take a piece and roll it into little logs about 2 inches long.
*If you have a stand mixer with the meat grinder attachment follow the video above.
-
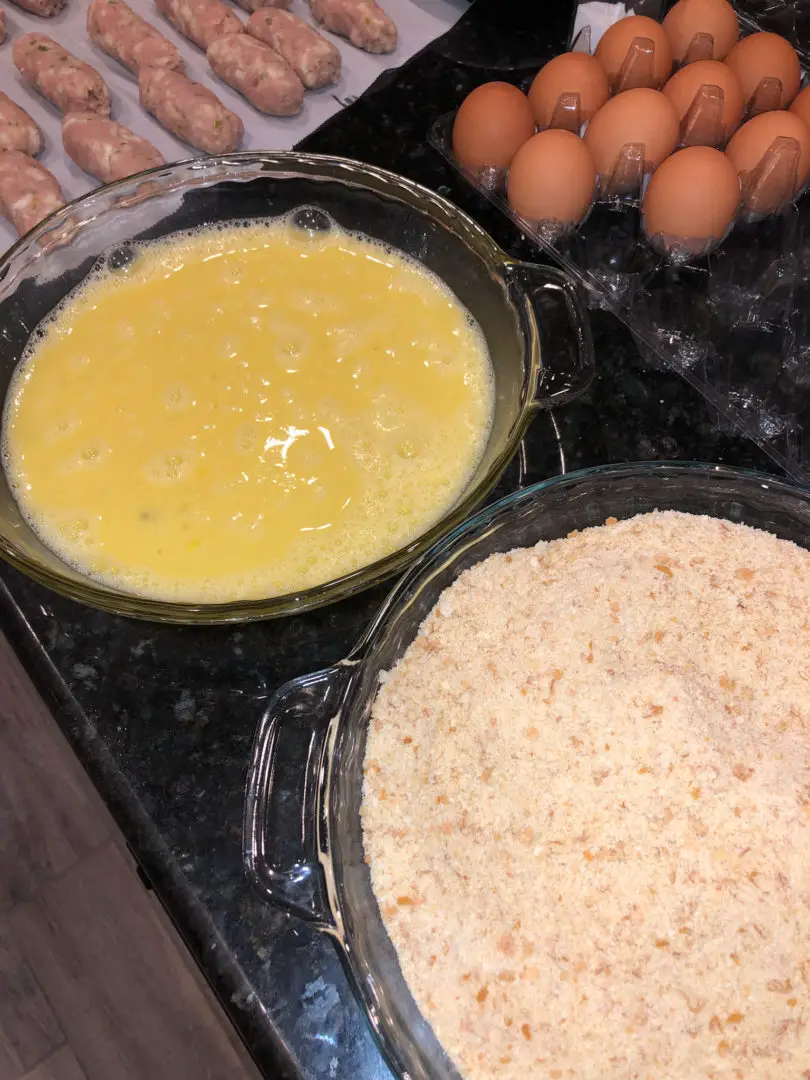
Now let’s make a breading station. We need one dish for the egg wash and another dish for the bread crumbs. I never throw out Cuban bread or French bread that we didn’t finish. I always have a place in my pantry for old bread so whenever I need bread crumbs I just go to the pantry and grab some dried bread and crush it down enough to fit in the blender or food processor and viola!! Fresh bread crumbs in an instant. Thank goodness I have appliances to do this because my mother in-law would make bread crumbs using nothing but a cheese grater. I digress, so we have our dishes one with whisked eggs and one with bread crumbs. Dip each croquette in the egg wash and then the bread crumbs.
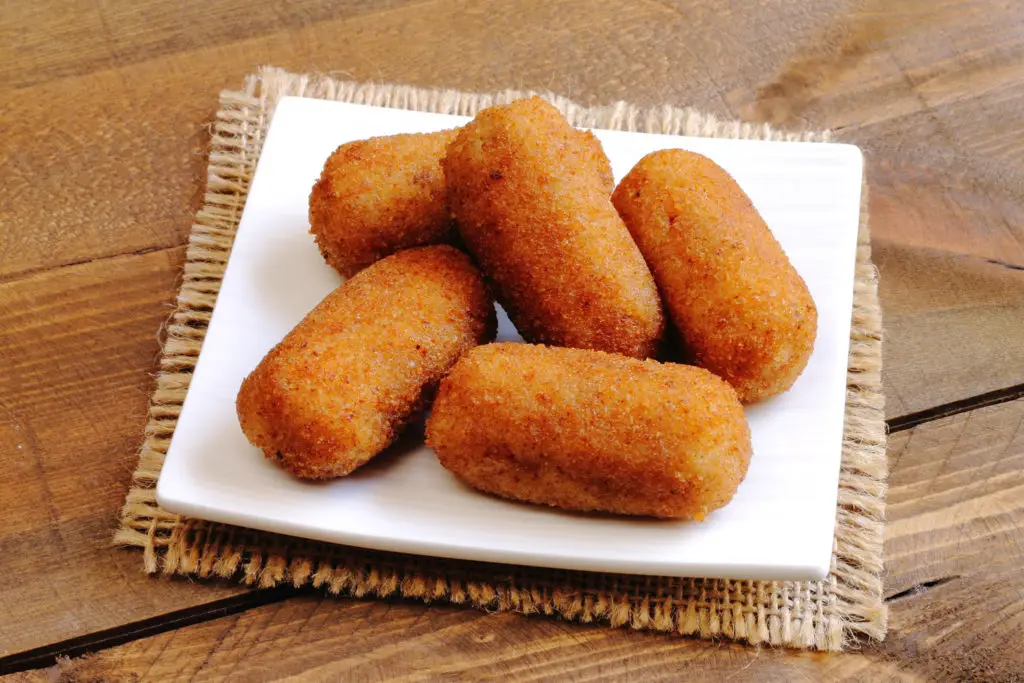
-
Now we’re so close to eating these delicious ham delights. All we have to do is heat some oil to 350 degrees and drop these in and cook until golden brown, only about 3-4 minutes. Drain on a paper towel or wire rack. If you’re like me I get so impatient with the first batch I normally burn my mouth from eating one that’s too hot! But they are so good! I like to dip them in mustard for a little tangy flavor that pairs so good with ham. Enjoy!!